Yet Another Zombie Survivors Tips and Tricks
The habits that separate a twenty-minute clear from a thirty-minute collapse.
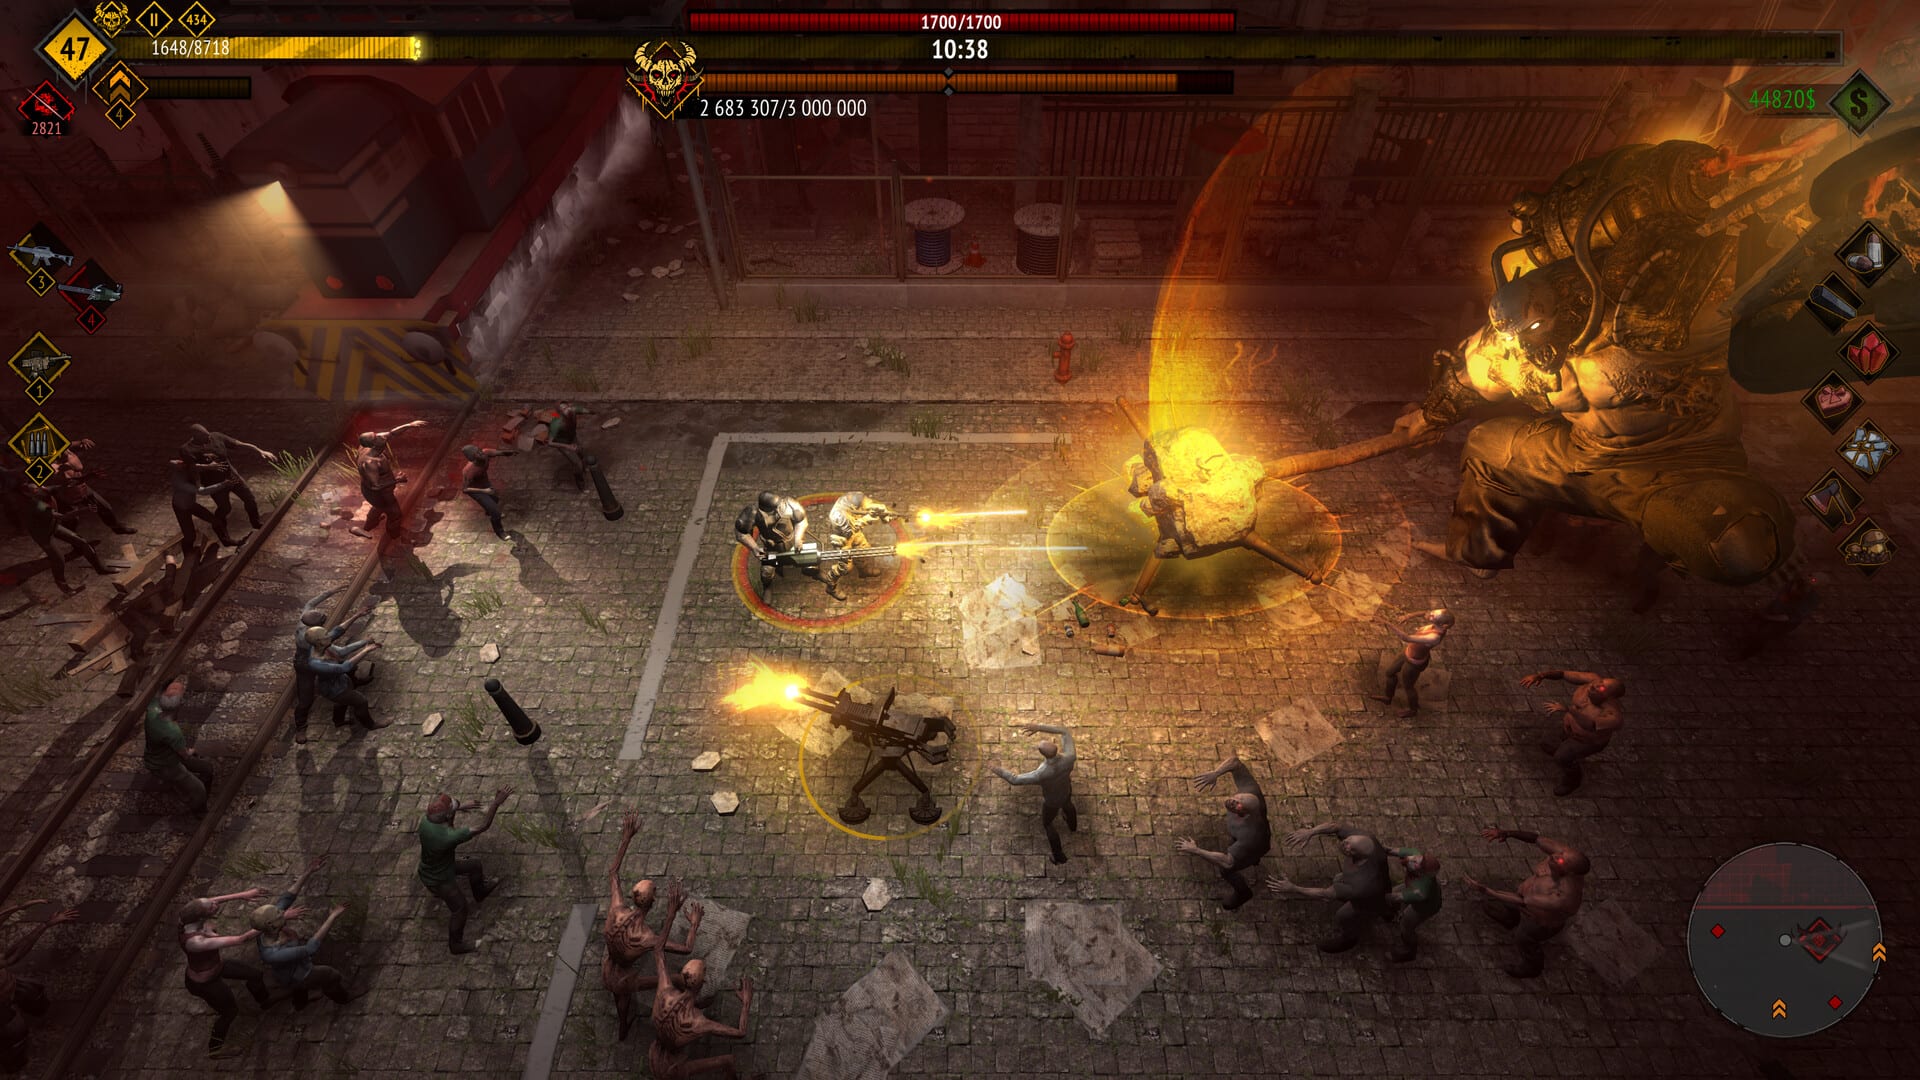
Yet Another Zombie Survivors rewards two things above all else: permanent progression and movement discipline. The tips on this page are not about a specific weapon or survivor. They are about habits that compound across every run. Master them and a twenty-minute dawn clear stops feeling lucky. This page assumes you have run Isolated City at least once. Start with Getting Started if you have not.
Movement is the skill
The single most important skill in this game is not aiming. Auto-aim and auto-fire handle that. The skill is keeping your squad in motion. Standing still is the leading cause of death in any mode above Default. The game spawns zombies faster than any single survivor can shoot them down. Staying mobile creates temporary safe zones by moving the kill zone to fresh ground. If your thumbs can only do one thing during a swarm, move.
This rule does not change in Hardcore, Endurance, or Infinite. The speed of failure might be faster, but the habit is identical. Practice it on every run, even when the horde looks manageable.
Gem routing and magnet discipline
Experience gems are the only permanent upgrade currency. Every run should maximize gem collection. Magnet pick-up range is one of the most important upgrades in Training, but it does not mean you should stand in a pile. It means you should circle a cluster until your squad absorbs it, then move to the next cluster. Standing still to vacuum defeats the purpose of magnets: you want range, not stillness.
When danger level spikes to five or six, gems become secondary. Survive first. If you are choosing between a gem and an exit lane, take the exit lane every time. A dead survivor collects zero gems.
Weapon evolution timing
Weapons have two phases: pre-evolution and post-evolution. Before evolution, a weapon is competent. After evolution, it becomes the backbone of your density clear or single-target damage. The fastest path to a safe run is to evolve your primary weapon before danger level four. After that point, the game begins stacking elite enemies faster than you can kill them with an un-evolved loadout.
Focus your first three to five level-ups on one weapon line. Do not spread upgrades across three weapons and three abilities in the first ten minutes. Pick the weapon that matches your squad composition and finish that line. An evolved Assault Rifle or Rocket Launcher does more work than a maxed gadget you cannot fire often enough.
Rescue timing
Screen corners flash when a rescue is available. Most players should accept the first two rescues they see. Rescued teammates contribute half of their leader perk, which compounds across the run. The squad shape that teaches the game best is SWAT leader with Engineer and Tank rescued. That combination covers crowd control, damage, and survivability.
Some advanced players refuse rescues to keep the squad small and mobile. This is a valid strategy at high prestige levels where extra bodies dilute the leader perk multiplier. For everyone else below prestige five, accept the rescue.
Item chest priorities
Items drop from chests and some achievements. Equip the first useful chest you see. Five items in one run is an achievement, not a requirement. Items like Glass Cannon that amplify damage but remove survivability should wait until you already have a shield or healing source. Building full damage from minute one without defensive items is how players hit danger level five and collapse instantly.
The order of priority for early items: anything that extends survival first, then anything that accelerates gem collection, then anything that amplifies weapon damage. Never equip four offensive items before you have one defensive item.
Level-up hygiene
Take every new ability once so the kit exists. This ensures you have options if your primary weapon line gets disrupted by an elite enemy stealing your drop. After the kit exists, finish your leader’s weapon line before anything else. Weapons have no long cooldown, so an evolved gun does more work than a maxed ability on a long timer.
After the gun is evolved, dump points into the one ability that clears density: Helicopter Strike for SWAT, Energy Shield for Engineer, Bombing Strike for Tank. Skip building four mediocre toys. One maxed ability that fires on a short cooldown beats four abilities that fire every thirty seconds.
The danger level spike
Danger levels one through four feel manageable. Level five is where most runs die. Level six is where experienced players start sweating. The spike between four and five is not gradual; it is a cliff. When you see level five arrive on screen, change behavior immediately: tighter circles, faster movement, less time spent chasing off-screen gems.
Do not try to fight through level five with the same habits that worked at level three. The horde density at five and six is designed to punish standing still and passive gem farming. Move faster, stay closer to the center of the map, and keep your evolutions active.
Magnet discipline in practice
Magnets pull every gem on the map toward your squad. This sounds simple, but it creates a common mistake: players stand in a gem pile to maximize collection efficiency. This is the opposite of correct play. Magnets exist so you do not have to stop moving to collect. Circle a pile, let the magnet do the work, and keep your exit lanes open.
The best gem runs happen when you are already moving toward the next objective. Treat gems as a byproduct of movement, not a destination. If you are standing still for more than three seconds in a danger level above four, you are probably dying slowly.
Leader perk compounding
Leader perks scale with survivor rank. Rank your leader by getting kills with that survivor as the starter. Rank two unlocks at five thousand kills, rank three after another twenty thousand. Higher ranks double the leader perk and open extra power-ups. This means a high-rank leader with the right perk can outperform a low-rank leader with a theoretically better ability loadout.
Start ranking SWAT immediately. The Assault Rifle evolution plus a doubled Helicopter Strike perk at rank two is enough to clear dawn on Isolated City in the first session. Ranking is permanent across runs and compounds indefinitely.
What this page assumes you know
This page assumes you have run the game at least once and understand that survivors auto-aim and auto-fire. If you are still learning what E and R do, read Controls first. If you do not know what a Default dawn feels like, run Isolated City until the sun rises before reading further.
The habits on this page are the foundation. The next layer is map-specific: reading Survive until dawn for Isolated City, Elite Bosses for the spike at level five, and weapon evolutions for the loadout that carries you through the last ten minutes.
If you are already clearing dawn consistently and want to push Hardcore, read How to beat Hardcore before your next run. If you want the one-paragraph version of every system in the game, the Guides Hub is the map to the rest of the wiki.
Frequently Asked Questions
Quick answers to the most common questions.
Why do I keep dying at danger level five?
Level five is a spike, not a plateau. Tighten your circles, stop chasing off-screen gems, and keep moving. An evolved weapon before level four prevents most of that spike.
Should I accept rescue pings?
Yes, accept the first two unless you are at high prestige where extra bodies dilute the leader perk. The half-perk contribution still outweighs the body count downside below prestige five.
How many items should I equip?
One useful chest item in early danger levels. Five items in one run is an achievement, not a goal. Equip defensively before you equip offensively.
Should I evolve a weapon or max an ability first?
Evolve the weapon. Weapons have no long cooldown. A maxed ability on a thirty-second timer does less work than an evolved Assault Rifle firing every second.