Yet Another Zombie Survivors How to Survive Vile Wasteland
Desert Worm, mummy circles, and the dawn that opens Green Hell.
Vile Wasteland is the second map in Yet Another Zombie Survivors. It arrived in Early Access 0.3 and it is still the desert exam after version 1.0 launched on 20 August 2026. The current patch is 1.0.0c2 from 28 August 2026. The in-game blurb is honest: fallen to ruin as death whispers through the sands, the last frontier in the struggle for humanity’s survival. You steer a single-player squad of up to three survivors across dunes, mummy rings, and a Worm that cannot die. Nobody else is coming. There is no co-op. There are no redeem codes. Default dawn here lasts about twenty minutes. Win that clock and this map starts unlocking Endurance, later Hardcore, Boss Rush, and One Hit for the wasteland only. Win it and the next map, Green Hell, also opens. Lose it and Dead Terminal, Bio Lab, and Ranger at Survival Level 175 are noise.
Unlock the sand by winning Default on Isolated City. If spit cones still kill you on asphalt, stay on the first map. Read Getting Started and Survive until dawn in the same sitting if this is still night two. The minute clock lives there. This page is the desert itself: the Worm, the local bestiary, Sanji the rabbit, the workhorse trio, the achievement chain, the Fear-themed finale, and when you are actually allowed to leave for the swamp. Geography for the whole chain sits on the maps walkthrough.
The Worm is a wall
The unique teacher here is the Worm. A red growing circle appears under the blob. When the slam lands, anything inside dies or nearly dies, including zombies. The Worm has no health bar. You cannot kill it. Standing in the circle to “DPS the Worm” is how the run ends. Walk out. Speed Training (Gotta Go Fast) is insurance. Engineer Energy Shield is the backup if the circle already closed on your feet.
The Worm also eats the horde. That is a bonus, not a farm plan. Feed it five hundred zombies across your career for Om Nom Nom. Get hit five times in one life and still dawn for Why Didn’t You Dodge!?. Neither is a Default strategy. Do not reverse into a telegraph for a chest. Do not hug a dune corner and pray. Corners plus slam plus Desert Spitter is a wipe. Treat the red the way later maps treat trains and toxic rims: see it, leave it, do not argue with it.
Spider, Slime, mummy circle, Scarab, Desert Spitter, Big Mummy
Trash still fills the screen. The desert adds its own names. Spider dies into a web trap that slows the lane. Enable Arachnophobia mode in options and the same slot becomes a Slime with a slowing puddle instead of a spider model. The trap persists after the kill. Do not exit through a web you just created.
Mummies spawn in a ring and close inward. Kill enough to cut a gap. Circular Decomposition is the achievement for playing that circle correctly. This is a positioning check, not a DPS exam. AoE (shield pulse, rockets, turrets) opens the hole. Standing still “to finish the ring” is how Desert Spitter cones clip the blob.
Scarab explodes on death. Treat it like a smaller Boomer. Do not stand on the corpse. Lead the pop into a pack if you want free area damage. Do not lead it into your own exit.
Desert Spitter is Isolated City’s cone with extra sand. Same rule: move perpendicular. If you stop to line up a shot, a cone is already in the air.
Big Mummy is the common desert boss: huge sand projectiles that split, a frontal rock-spike smash, and Scarab summons. Loop, clip, leave. You do not need to eat the whole bar. The full table lives on Enemies. Learn those desert names here. Wendigo shots wait for Green Hell. Trains wait for Dead Terminal.
Sanji and the potato
Northeast wandering finds Sanji the rabbit. That is the Curly Little Potato joke, not a combat buff. Take the screenshot, take the achievement, walk away. Camp clipboards and Team Bond (the 1.0.0c name for Friendship, shared Cash and Specialization, cap 250) are optional. You do not need a story briefing to leave a red circle. Nintendo Switch is planned after launch and is not out; play the desert on the platforms that actually shipped 1.0.
Workhorse squad
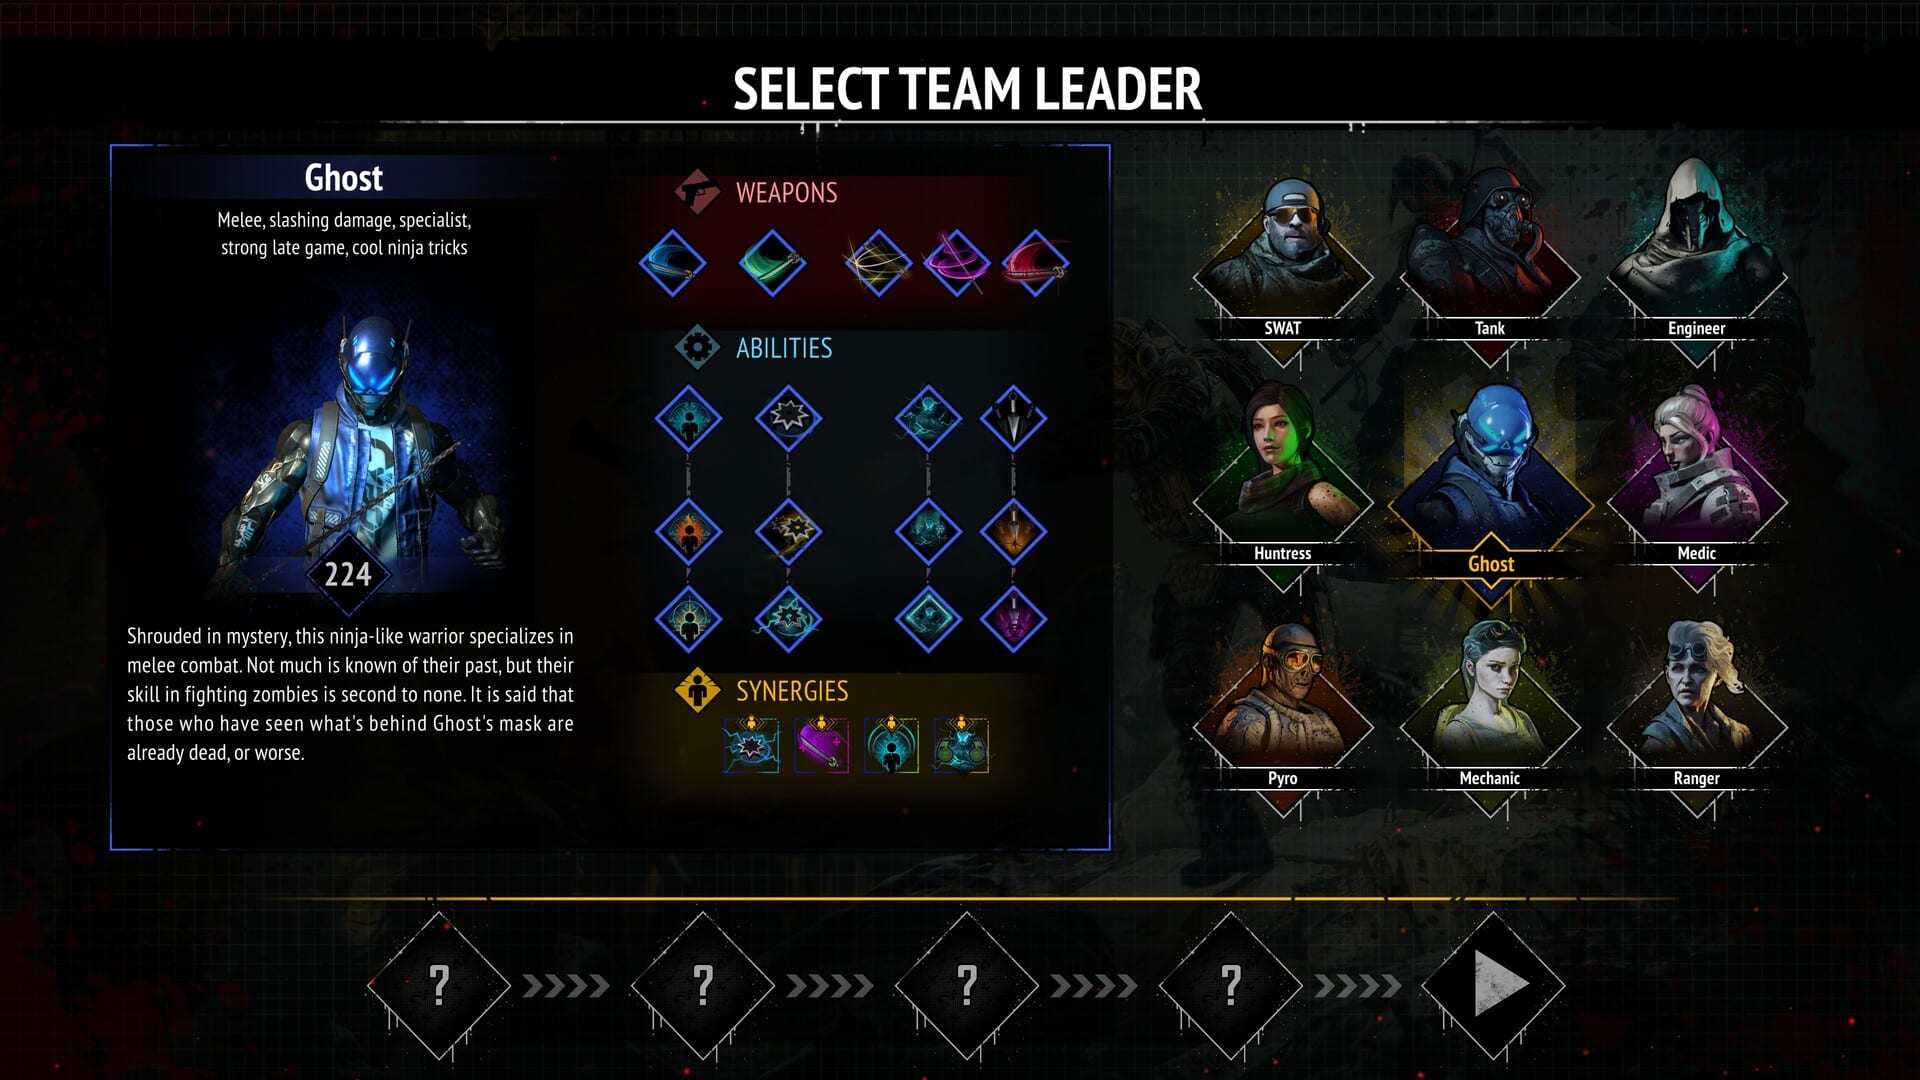
Leader: SWAT. Rescues: Engineer and Tank. Rifle, Energy Shield, rockets. That trio is still the S recipe. Shield is Worm insurance. Rockets delete mummy rings. Speed Training matters more here than Bigger Bullets after the gun exists. Huntress can replace Tank after the fifteen-minute unlock if Eagle Eye is online, but do not stand still for Arrow Rain while a slam is growing. Ranger is a 1.0 rescue at Survival Level 175, not an unranked desert lead. Medic lead is a Camp clipboard, not a geometry teacher. Finish the leader gun before you collect four mediocre gadgets.
Modes, badges, finale
Default dawn is Arrived at Your Desert Nation. That badge opens Green Hell and this map’s other modes. Tick the rest on the unlock checklist. The mode menu is game modes.
Endurance here is the same movement with no mercy clock. Ten minutes is The Desert of The Dead. Twenty minutes is Dead Rude Sandstorm. Infinite unlocks at thirty minutes of Endurance per arena after hotfix 1.0.0c — Wild Wild West is that gate. It is not a Hardcore gift. See hotfixes if an old tooltip still lies. Hardcore is ten mean minutes and Un-Dead Redemption. Evolve the rifle immediately. Keep moving. Turrets steal the tile you needed to leave a slam. You do not need to vacuum the last boss pile. Isolated City Hardcore does not gift Vile Wasteland Hardcore. Use How to beat Hardcore when city clears feel automatic.
Extermination is twenty waves. Waves In The Sand is the desert version. It is not Default with a new skin. One Hit is about five minutes. Hover the icon. Modes unlock per map through achievements.
Boss Rush 1.0 is a race to minute ten, then the area finale. The Fear-themed finale of this map is the Vile Wasteland main boss. The achievement is I Must Not Fear. This wiki will not invent a unique boss name the Zombiepedia did not print. You fight that finale in Default as the map’s main boss and again in 1.0 Boss Rush at minute ten. Burst guns. Do not plant a turret museum on the slam tile. Read How to beat Boss Rush and main bosses when the bar looks personal.
When to leave for Green Hell
Leave when Vile Wasteland Default is a badge you can repeat without thinking. Winning Default here is the key that opens Green Hell. The swamp adds corrosive puddles and tracking shots. If the Worm still eats you, the forest will finish you. Stay in the sand to learn slam geometry. Bio Lab is a terrible next farm because the ring adds a fail condition that is not the horde. The chain is Isolated City → Vile Wasteland → Green Hell → Dead Terminal → Bio Lab.
Camp missions are optional. Take a clipboard when the desert is already honest. Skip it when you only want badges. If Vile Wasteland still kills you, it is almost never missing Ranger. It is a missing exit from a red circle. Put SWAT in slot one, accept two rescues, walk out of the slam, and take the dunes to dawn again.
Frequently Asked Questions
Quick answers to the most common questions.
How do I unlock Vile Wasteland?
Win Default on Isolated City. That dawn is the only key. Isolated City Hardcore does not gift the desert.
Can I kill the Worm?
No. It has no health bar. Leave the red growing circle before the slam. Engineer shield is insurance if you are already inside.
What squad should I use?
SWAT as leader, then rescue Engineer and Tank. Shield covers slams. Rockets open mummy rings.
How do I unlock Green Hell?
Win Default dawn here, about twenty minutes. That is Arrived at Your Desert Nation.
Is Wild Wild West a Hardcore badge?
No. Infinite unlocks at thirty minutes of Endurance per arena. Hardcore here is Un-Dead Redemption, ten mean minutes.
What is I Must Not Fear?
The Fear-themed Vile Wasteland finale. You fight it as the map's main boss and again in 1.0 Boss Rush at minute ten.